Home  |  Homemade vs Store  |   Subscribe  |  Contact

Tuesday, May 17, 2011

How to make your own clarified butter

023

Clarified butter is anhydrous milk fat rendered from butter to separate the milk solids and water from the butterfat.  Having the butter in this form increases its smoking point and also extends the butters shelf life.  I like to use clarified butter in sautéing seafood as well as when cooking up my eggs in the morning.  It is very easy to make your own clarified butter in your kitchen.

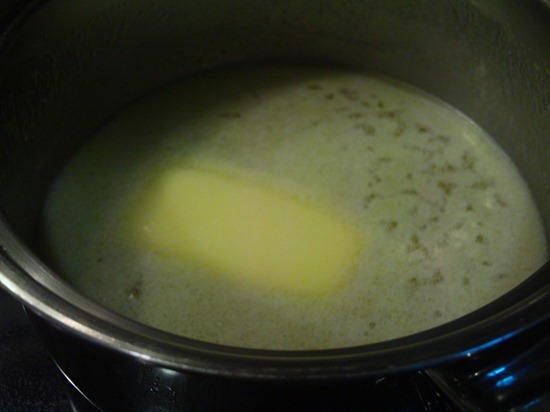
Step 1: Melt the butter.  Start with 1-2 cubes of butter and place in a saucepan at medium-low heat.  Stir while the butter melts.  Once the butter has completed melting remove from heat and let sit for 3 minutes.

006

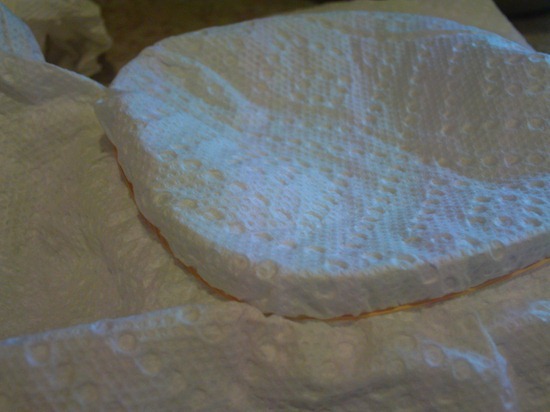
Step 2 Separate the solids.  Now that most the water has evaporated and the solids have separated you now need to remove these solids.  Many techniques call for carefully skimming these solids out but this had always seemed pretty tedious and I never got an much out as I wanted.  For this reason I go with a filtering method using preferably three layers of cheesecloth but in a pinch a coffee filter or even a simple paper towel can work.  Place the “filter” over your container and secure with a rubber band. 

008

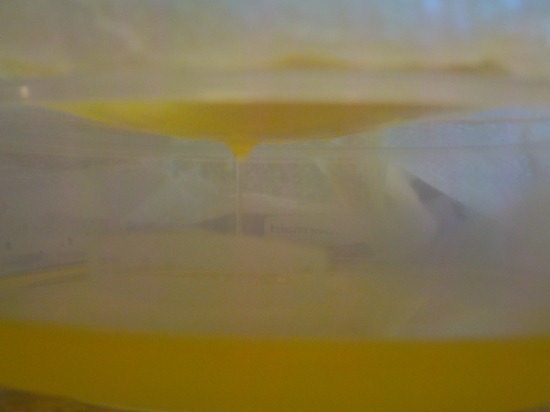
Carefully pour the melted butter on top of the filter and allow about 5-10 minutes for the liquid to filter through.  Tip:  You may want to carefully push some of the solids to the side if the flow to the container seems to slow (or stop).

019

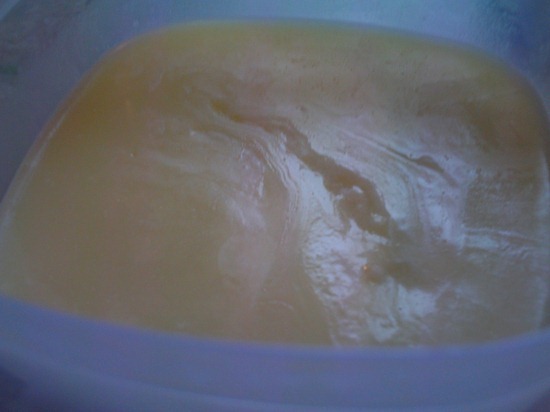
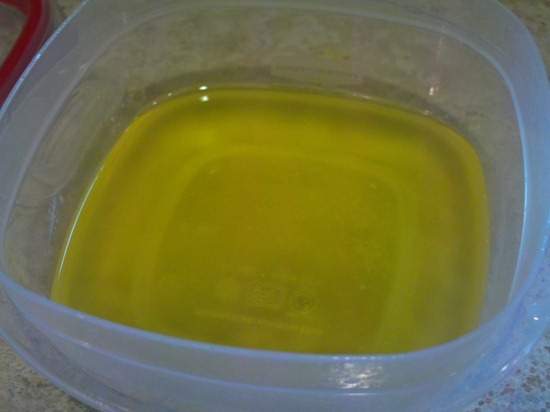
Step 3: Cool. You have now created your own nice and clear clarified butter.  Now simply cover your container and place back into your refrigerator and use as needed.

021

Saturday, March 26, 2011

How to make your own homemade vanilla extract

109

Every time I buy vanilla I always have to stare at the bottles for a few minute contemplating if I should pay the extra cost for “Pure Vanilla” versus the imitation stuff.  Provided the real stuff costs 15 times more than the fake stuff when I walk away with my little eye dropper worth of pure vanilla extract for the small fee of $7.99.  Just for the record $638.72 per gallon, which makes gasoline look pretty cheap.

The last time I made this purchase I decided this is the last time I would be buying vanilla and in the future I would simply make my own.  After looking into the process I was blown away by how simple it was.  Take some vanilla beans seep them in some alcohol and wait until it looks like vanilla.  There are many advantages to making your own vanilla first of which is cost.  For the same $7.99 I purchased 2 ounces of vanilla for I can make 12.68 ounces of my own.  Another great benefit is as soon as you start looking for vanilla beans online you will see there are many different types to choose from creating your own special blends using beans from different areas as well as a variety of alcohol to infuse it in.

Many recipes I came across describe how to make super high concentration versions that require to to reduce your usage by quarter or half.  I decided to attempt to make some single strength vanilla so mine should be similar to that purchased in the stores.  I confirmed that commercial vanilla extract has 13.35 oz. of vanilla beans per gallon of alcohol.  Provided I am using 375 ml of alcohol in my batch I would need 1.33 ounces of vanilla beans which equates to approximately 2.5 beans, which I picked up for $2.99 for 3 pods.  Next was alcohol choice, for this you want something about 70 proof (35% alcohol) some obvious choice in this range are vodka, rum, or bourbon.  With a desire to keep costs low and a desire to be able to see how the liquid’s color changed I went with the second cheapest 375 ml bottle of vodka I could find (I splurged and spent the extra 50 cents).
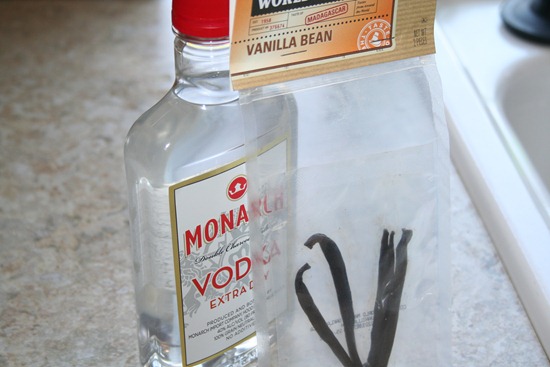
099

Step 1: As mentioned above the process is very easy, you start by splitting the vanilla beans lengthwise.
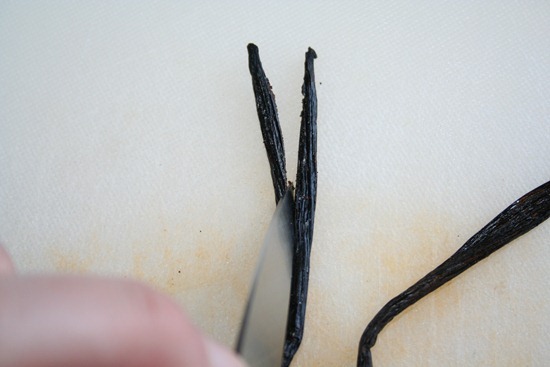
102

Step 2: Take the split beans and cut them to one inch lengths.
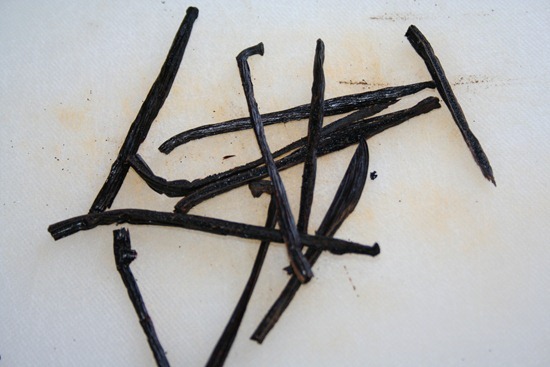
103

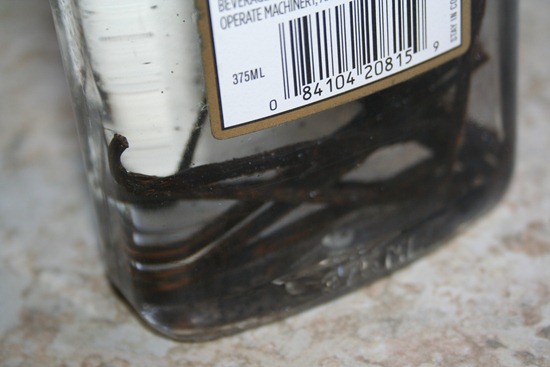
Step 3: Insert cut beans into bottle of vodka
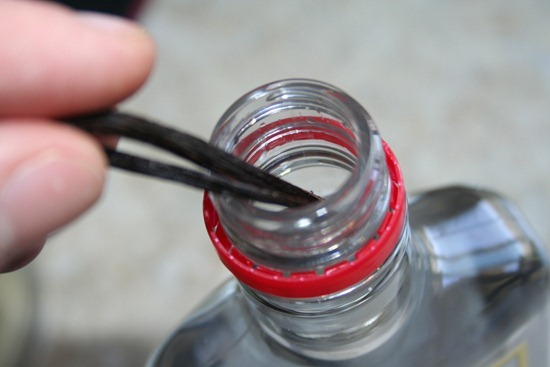
104

Step 5: Shake bottle (when you think about it)
011

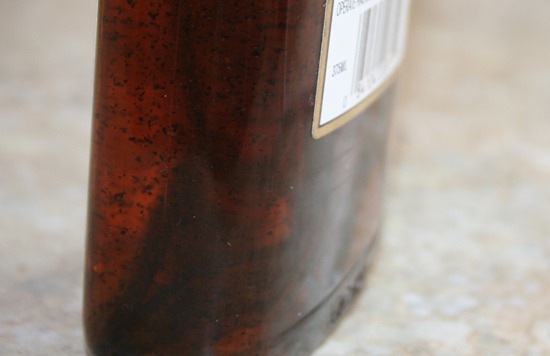
Within a few days your alcohol will begin to get dark and have a nice vanilla smell, but keep holding out for the good stuff.
008

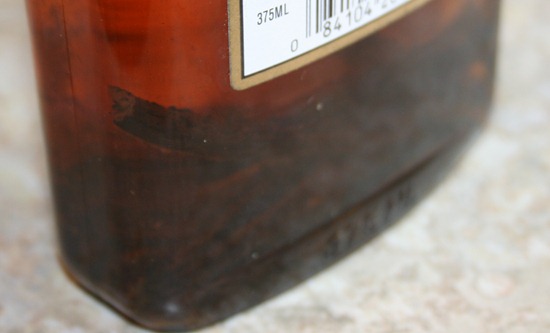
After about a month your vanilla should be fully infused and have some vanilla with approximately the same strength as the expensive stuff you buy in the store at a fraction of the cost.

Now at this point you have a couple options:

Option #1: Screen out the vanilla beans (and fragments) and if beans (after dried)are still fragment place them into a sealed container with a few cups of sugar to make your own vanilla sugar.

Option #2: Let the vanilla to continue to infuse and have progressively stronger vanilla.  For super flavor shake before using to get some of the bean fragments into your measurement.

Option #3:  Top off the bottle with alcohol after use to have a nearly endless supply of vanilla.  Eventually you will need to add a couple more beans.
Sunday, February 6, 2011

Light wheat bread recipe

003

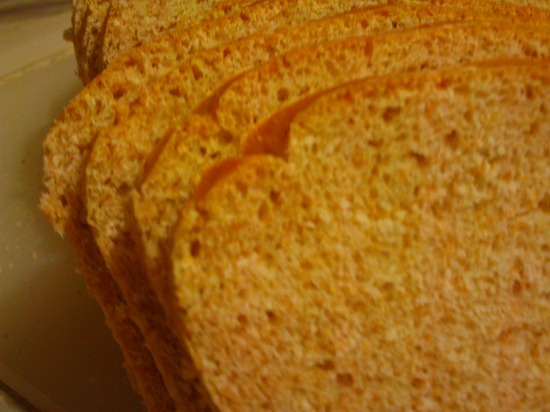
Like many recipes this one was completely created by accident.  I was making my typical sweet white bread recipe but unfortunately halfway through I realized we were short a cup of white flour.  Thinking fast, I replaced it with a cup of whole wheat.  Not only did it make the bread for nutritious and was much more flavorful at the same time so this has now become my staple recipe for bread.

Simple Light Wheat Bread Dough Recipe

  • 1 cups warm water
  • 1/3 cup white sugar
  • 3/4 teaspoon salt
  • 3/4 tablespoon of active yeast
  • 1/8 cup vegetable oil
  • 1 cup whole wheat flour
  • 2 cups of while flour


Directions:

  • Dissolve sugar in warm water, followed by yeast in power mixer.  Allow to proof until contents looks like some light brown cream foam. 
  • Add salt and oil and mix to combine.
  • Switch to hook attachment and add flour until dough does not stick to your finger when you touch it. 
  • Let the hook do some of the kneading work for you by letting it run for 4-5 minutes on a medium/low setting.
  • Knead by hand for 3 minutes or until smooth (adding flour if it still sticks to your hands)
  • Cover with damp cloth and allow to rise until it doubles in size. (about an hour depending on temperature of your kitchen)
  • Punch down bread dough and place into well oiled 9X5 inch loaf pans allowing to rise for 30 minutes.
  • Bake at 350 degrees for 30 minutes
  • While still hot baste the top of bread with butter.
  • Once cool, if there is any left by then, slice up and place into a gallon Ziploc bag.

Thursday, December 2, 2010

Pumpkin cheesecake recipe

021

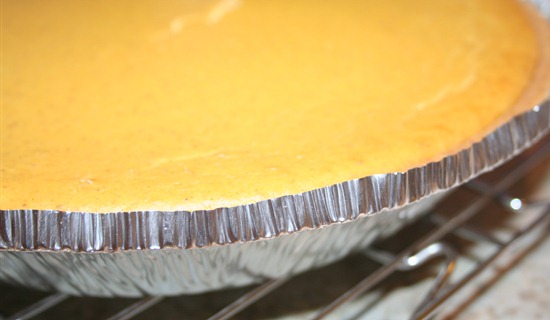
I decided to combine a couple of my favorite desserts this Thanksgiving and was pleasantly surprised with the results of my first pumpkin cheesecake (or cheesecake for that matter)  Though the prospect of making a cheesecake may sound daunting it is actually pretty simple to make.